If you're reading this, you probably have a root canal appointment scheduled and you're nervous. Take a breath. I know the reputation root canals have, but here's a secret the dental community wishes everyone knew: a root canal feels pretty much the same as getting a filling. The anxiety beforehand is genuinely worse than the procedure itself.
Let me walk you through exactly what to do before, what happens during, and how to recover afterward.
What to Do Before Your Root Canal
The days before
- Take all prescribed antibiotics: If your dentist prescribed antibiotics before the procedure (common with active infections), finish the entire course. Don't skip doses. The antibiotics reduce the infection and make the anesthesia work better.
- Get good sleep: Being well-rested reduces anxiety and helps your body handle the procedure. If you're very anxious, ask your dentist about a mild sedative (like Valium) to take the night before and morning of.
- Ask questions: Call the office and clarify anything you're worried about. Good questions: How long will it take? Will I need sedation? Should I take any medication beforehand? Will someone need to drive me?
The day of
- Eat a meal 1–2 hours before your appointment. Your mouth will be numb for 3–4 hours afterward, making eating difficult. Going in hungry is miserable. Exception: if you're getting IV sedation, your dentist will tell you to fast.
- Take 600mg ibuprofen (Advil) about 1 hour before. Pre-medicating with ibuprofen reduces inflammation and can make the post-procedure period more comfortable. It also helps the anesthesia work better on inflamed tissue.
- Avoid alcohol for at least 24 hours before. Alcohol can interact with anesthesia and increase bleeding.
- Brush and floss normally. A clean mouth makes the dentist's job easier and reduces bacteria around the treatment area.
- Wear comfortable clothing. You'll be in the chair for 60–90 minutes. Skip the restrictive outfit.
- Bring headphones. Many dentists are fine with patients listening to music or podcasts during the procedure. It's a great distraction.
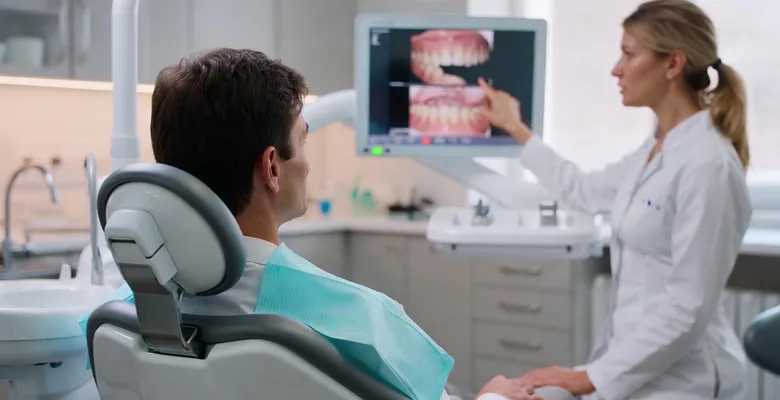
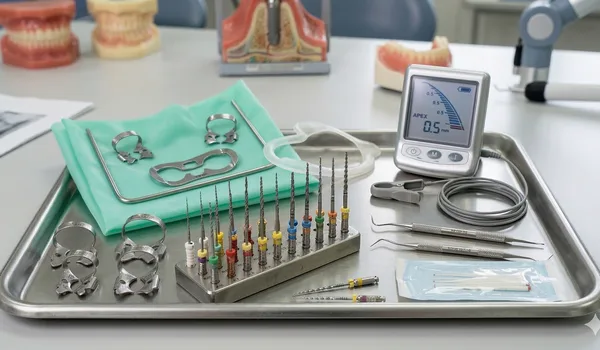
What Happens During the Procedure
Knowing the steps removes a lot of the fear. Here's exactly what happens:
- Numbing (5 min): Local anesthesia injections around the tooth. You'll feel a brief pinch, then the area goes completely numb within 2–3 minutes. If you're very anxious, ask about nitrous oxide (laughing gas) — it doesn't knock you out but takes the edge off.
- Rubber dam placement (1 min): A small rubber sheet is clipped around the tooth to keep it dry and prevent debris from going down your throat. It looks odd but makes the procedure safer and more comfortable.
- Access opening (5 min): The dentist drills a small opening in the top of the tooth to access the pulp chamber inside. This is similar to drilling for a filling.
- Cleaning the canals (20–40 min): This is the main event. Tiny files are used to clean out the infected or dead nerve tissue from inside the root canals. The canals are flushed with antimicrobial solution. You'll feel vibration and pressure but no pain.
- Shaping (10–15 min): The cleaned canals are shaped to receive the filling material. More files, more flushing.
- Filling the canals (10 min): The clean, shaped canals are filled with a rubber-like material called gutta-percha and sealed with cement. This prevents bacteria from re-entering.
- Temporary filling (5 min): A temporary filling or temporary crown is placed to seal the access hole until your permanent crown appointment.
Total time: 60–90 minutes for most teeth. Front teeth with one canal are faster (45–60 min). Back molars with 3–4 canals take longer (90+ min).
After Your Root Canal: Recovery Guide
First 24 hours
- Don't eat until numbness wears off (2–4 hours). You could bite your cheek or tongue without feeling it.
- Take ibuprofen 400–600mg every 6 hours for the first 24–48 hours. Don't wait until it hurts — stay ahead of the pain.
- Eat soft foods on the opposite side. Yogurt, soup, mashed potatoes, scrambled eggs. Avoid anything crunchy, hard, or chewy on the treated tooth.
- Don't chew on the treated tooth. The temporary filling isn't as strong as a permanent crown — it can crack or dislodge with hard biting.
Days 2–5
- Mild soreness and tenderness when biting is normal
- Continue ibuprofen as needed
- Brush and floss normally — just be gentle around the treated tooth
- If pain is increasing rather than decreasing after day 3, call your dentist
Pain Management: What to Expect
| Timeframe | What You'll Feel | What to Do |
|---|---|---|
| During procedure | Pressure, vibration, no pain | Raise your hand if uncomfortable |
| First few hours | Numbness wearing off, mild ache | Ibuprofen 600mg |
| Days 1–3 | Tenderness when biting, mild soreness | Ibuprofen + soft foods |
| Days 4–7 | Gradually improving | Ibuprofen as needed |
| After 1 week | Back to normal for most people | Resume normal eating |
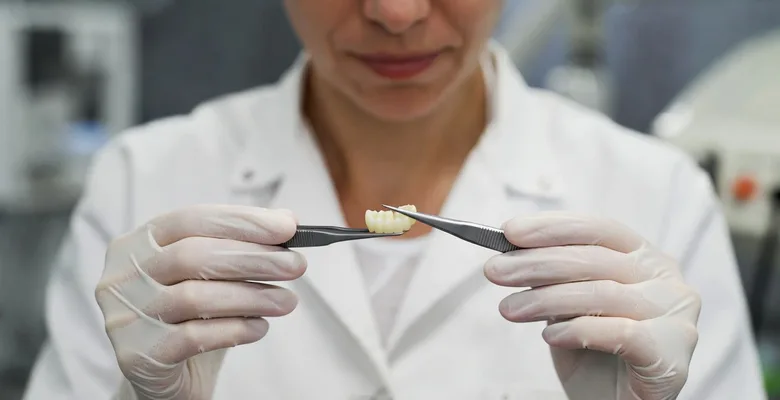
The Crown — Don't Skip This Step
After a root canal, your tooth needs a crown to protect it. Here's why this matters:
- A root-canaled tooth is structurally weakened — the nerve and blood supply that kept it alive are gone
- Without a crown, the tooth becomes brittle and can crack or fracture
- A cracked root-canaled tooth usually has to be extracted — meaning the root canal was wasted
Get the crown within 2 to 4 weeks of the root canal. Don't put it off for months — every week with a temporary filling increases the risk of fracture or recontamination.
How Much Does a Root Canal Cost?
| Tooth Type | Root Canal Cost | Crown Cost | Total |
|---|---|---|---|
| Front tooth (1 canal) | $600–$1,000 | $800–$1,500 | $1,400–$2,500 |
| Premolar (2 canals) | $800–$1,200 | $800–$1,500 | $1,600–$2,700 |
| Molar (3–4 canals) | $1,000–$1,800 | $800–$1,500 | $1,800–$3,300 |
| With specialist (endodontist) | Add 20–50% | Same | Higher but often worth it |
Frequently Asked Questions
Want to avoid a root canal in the future?
Read Our Complete Root Canal Guide →